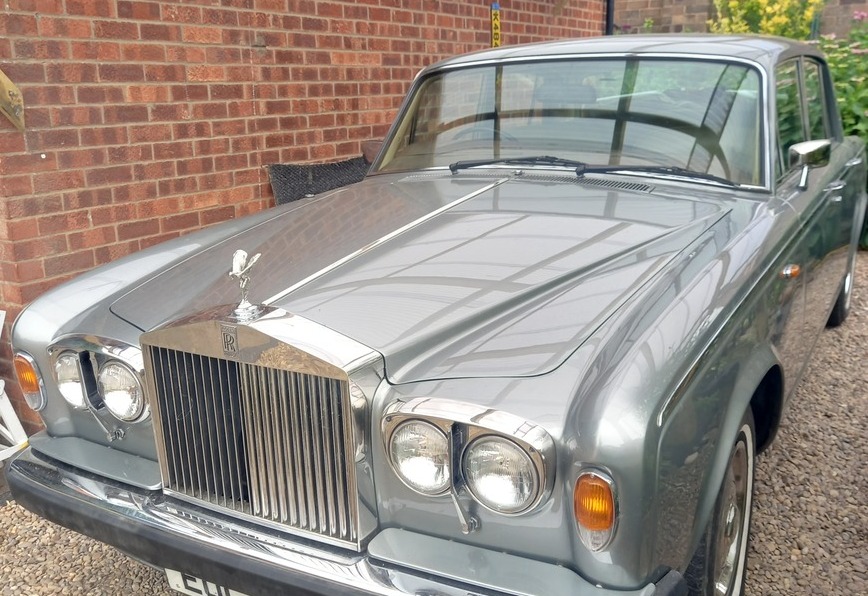
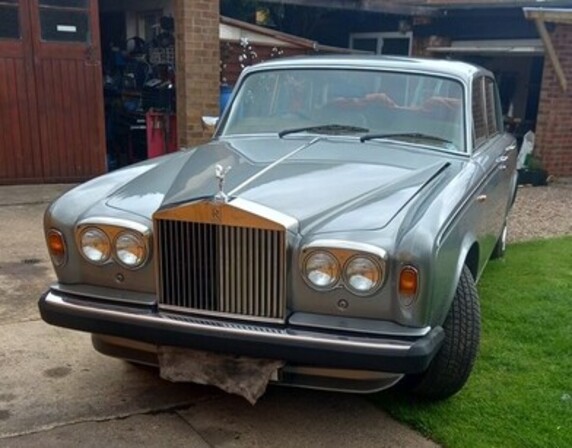
My Rolls Royce Silver Shadow 2. A DIY project
I bought this 1980 Rolls Royce Silver Shadow 2 .I'd always wondered if the description "Best car in the world" and tales of complex and expensive repairs were true and accurate. This one ran badly,had no service history and lots of bodged repairs. I wanted to see if a DIY restoration was possible. I had no intention of simply throwing money at expensive parts or paying others to do work I thought I could do myself.
I found these vehicles are complex and rust prone, secondhand or reconditioned spares are a cheaper option than new original ones. I repaired or rebuilt most of the failed parts and found some easier repair options than 'official' methods mentioned in manuals.Most of these and 'work rounds' are detailed here. My car now is a pleasure to drive but I still find improvements to do and regular maintenance is essential.The Silver Shadow 2 is similar to the earlier model but has a steering rack rather than a steering box and does not have the chrome bumpers of the earlier model.
Links to lots of other Rolls Royce sites and information are here. I've started a Rolls Royce Silver Shadow group on facebook.
![]()
Click below for links to other sections and pages.
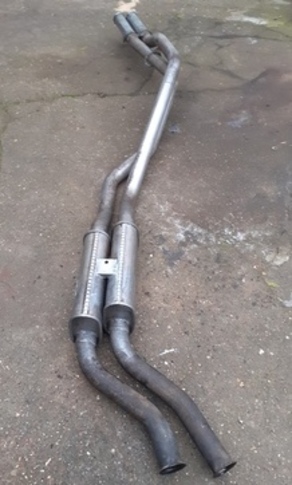
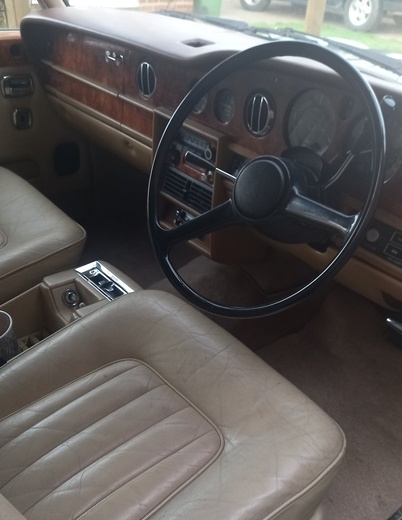
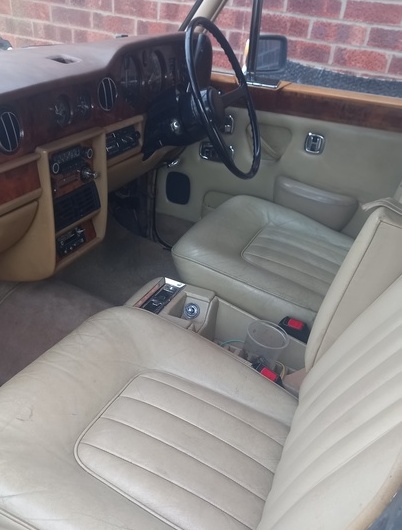
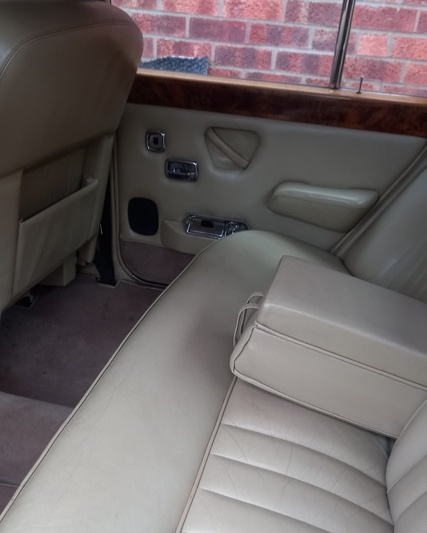
.Bodywork. Brakes. Carburettors. Electrics. Engine clean. Interior. Specifications. Hubs.
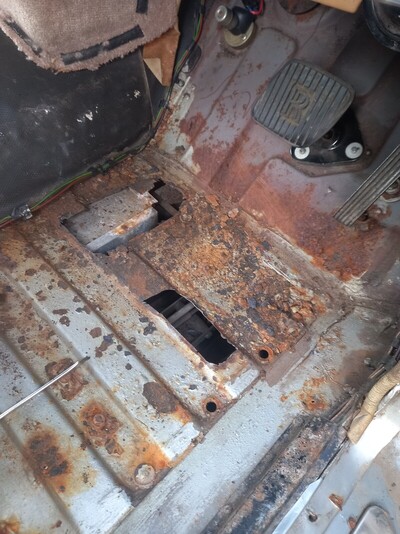
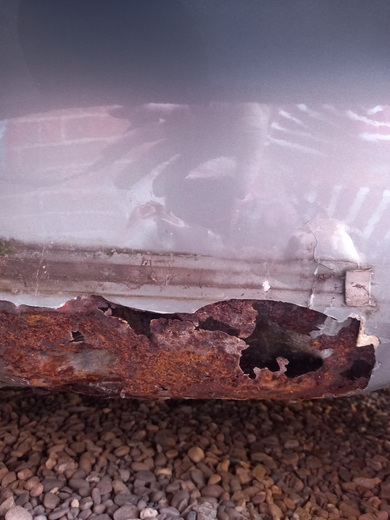
The rusted floors needed repair.
The underseal was intact but the floors were thin in places with a few holes to patch.The rust was from water collecting inside the car rather than from underneath. Ther are a lot of pipes and cables under the floors on these check carefully before welding or cutting floor panels.
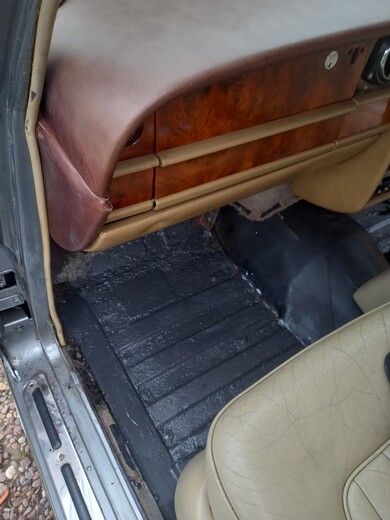
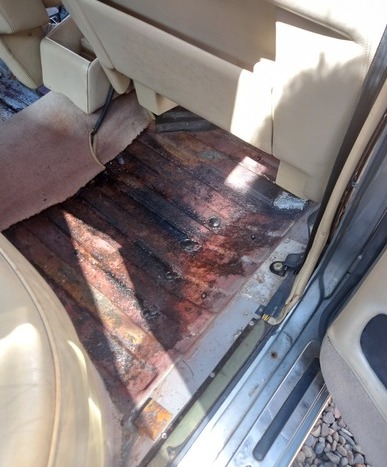
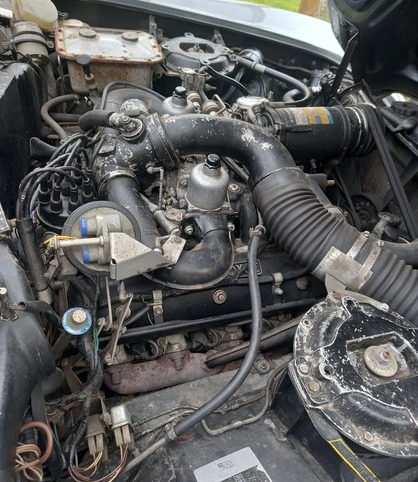
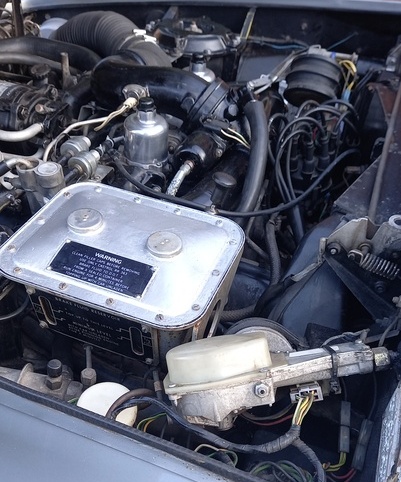
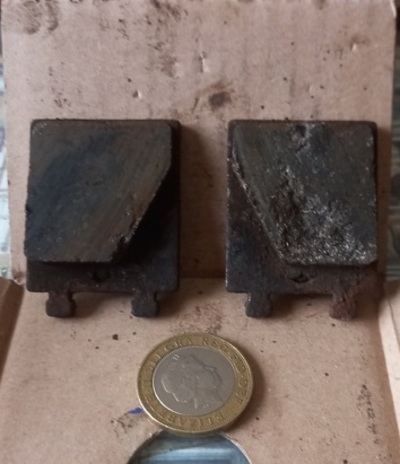
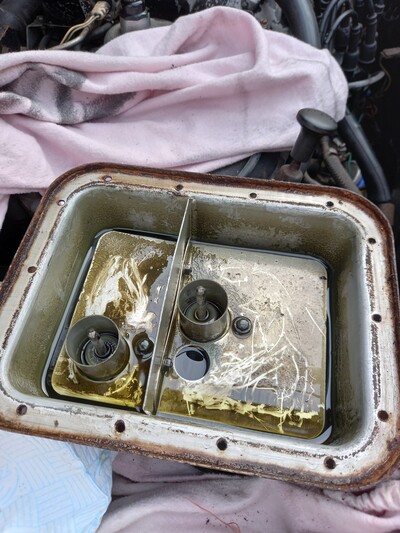
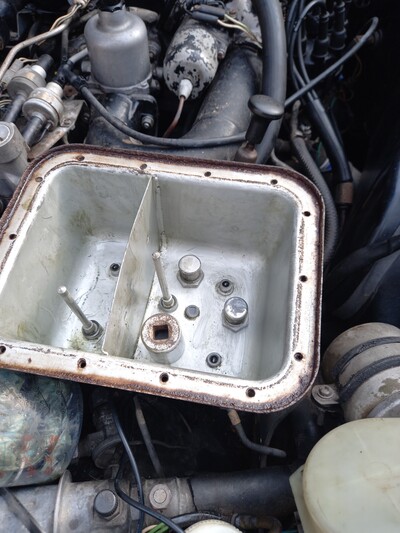
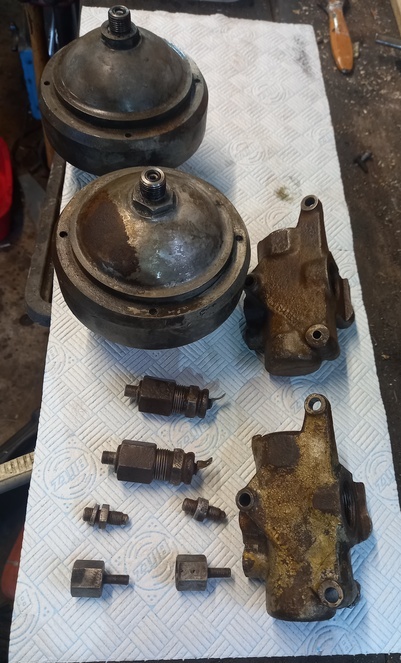
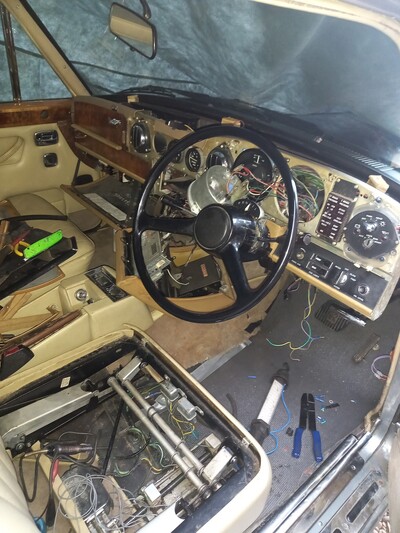
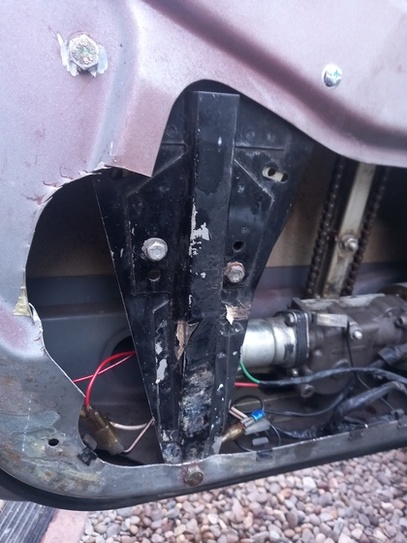
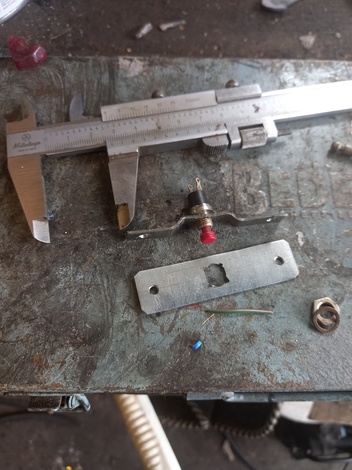
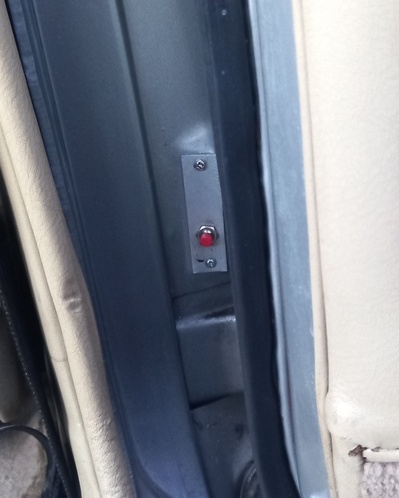
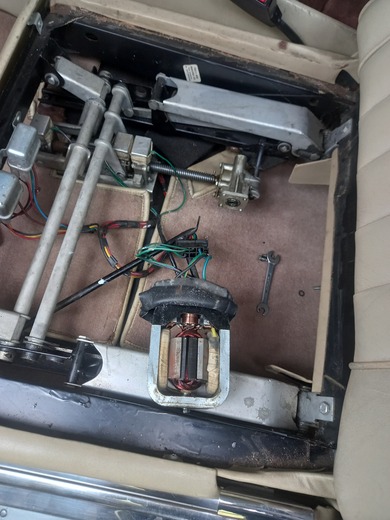
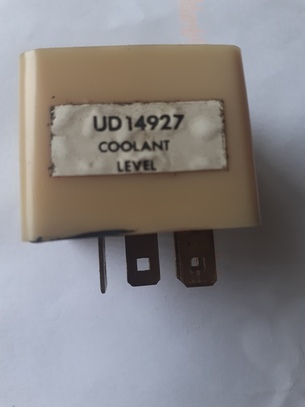
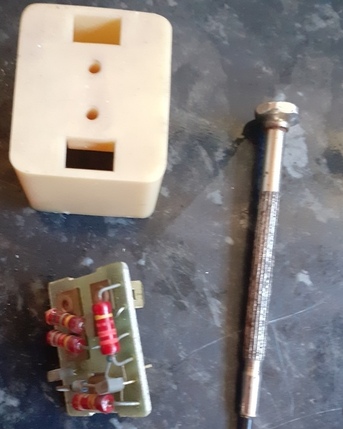
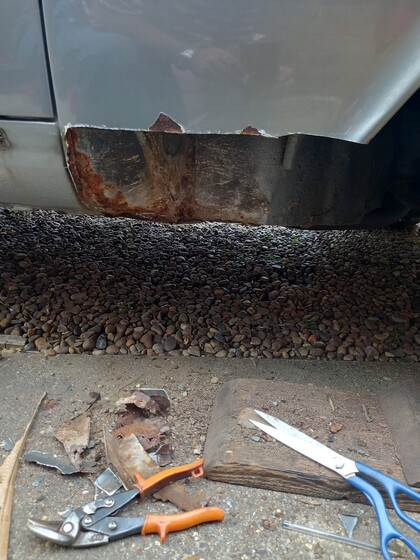
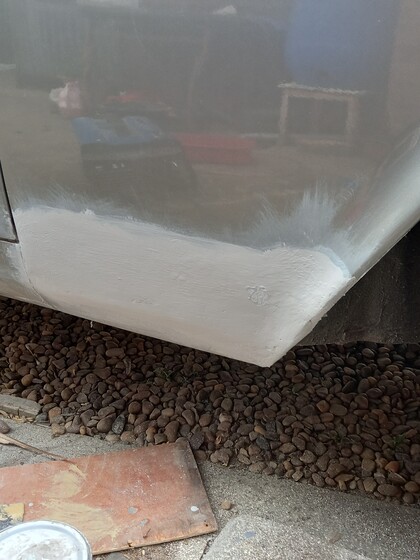
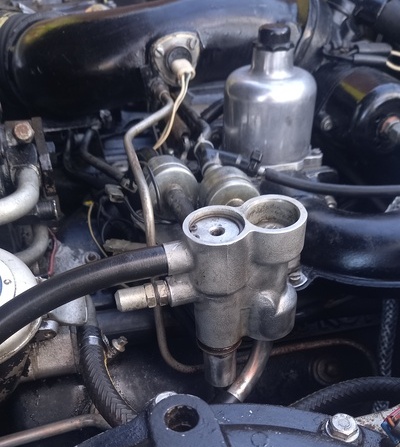
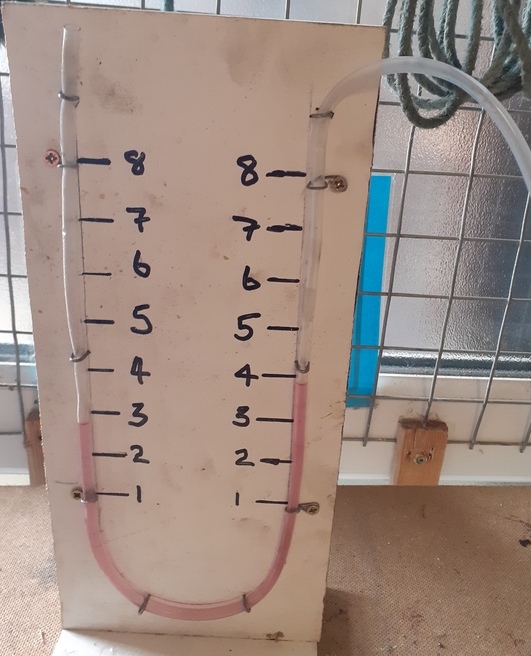
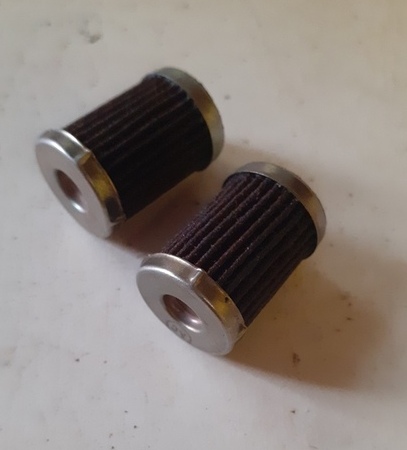
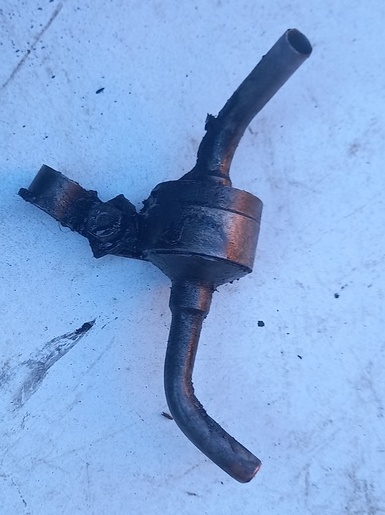
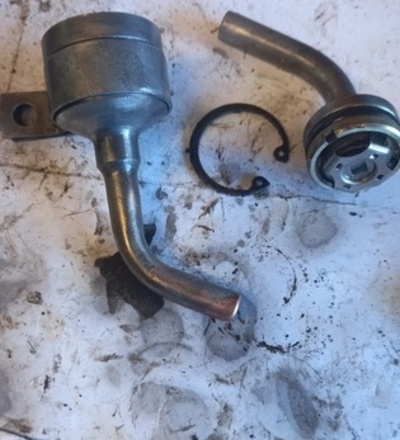
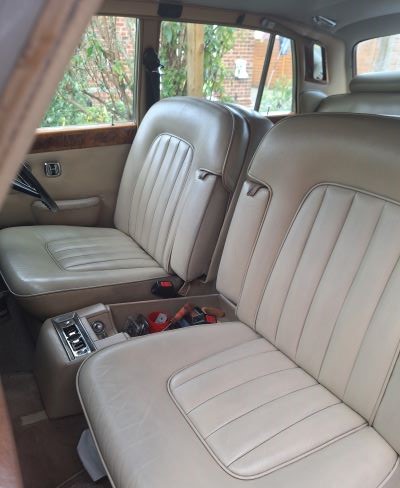
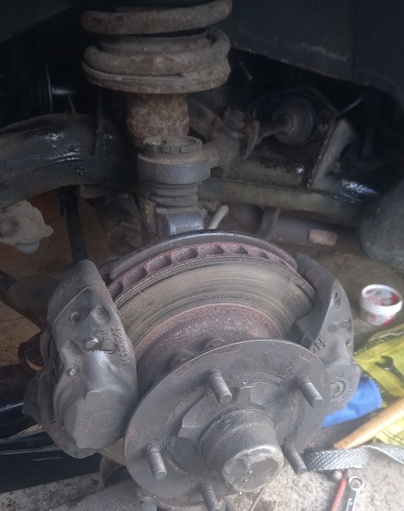
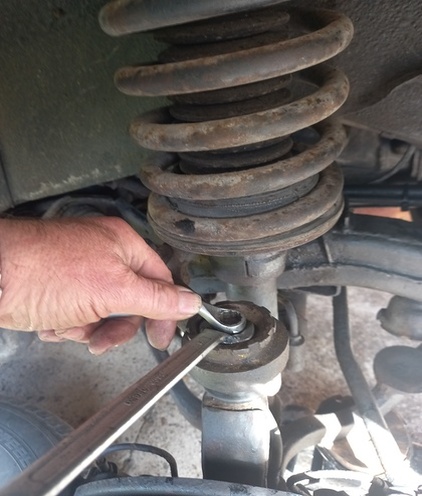
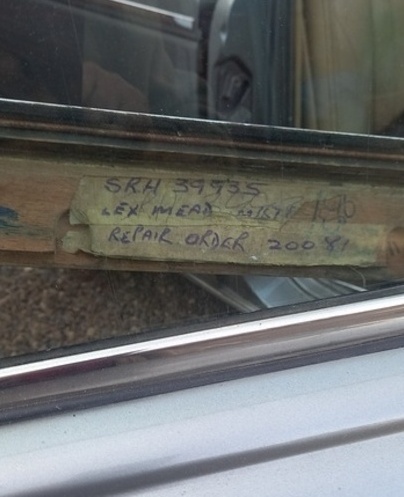
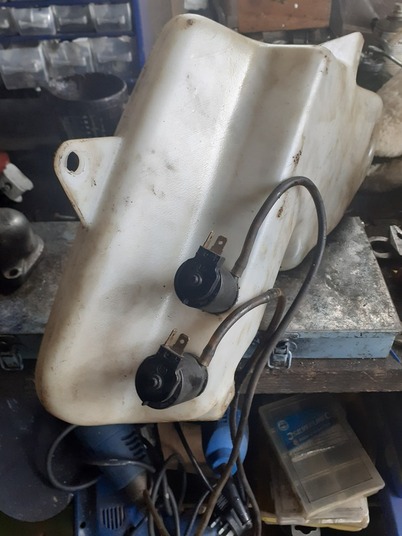
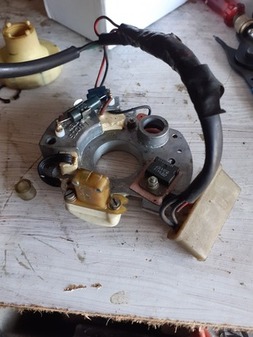
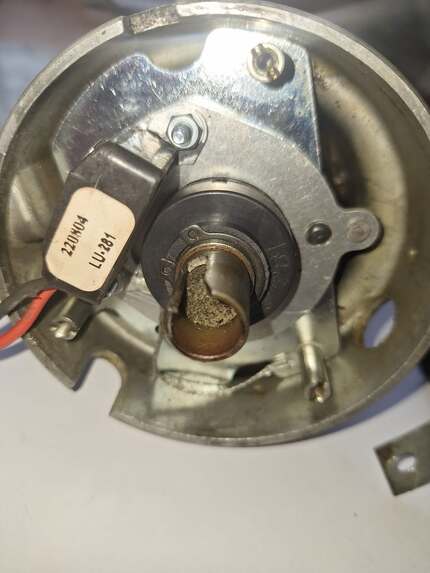
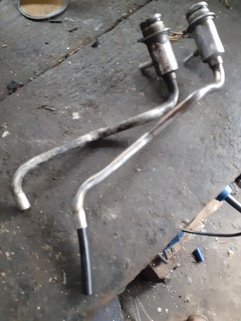
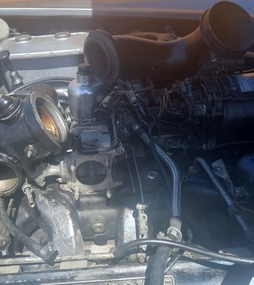
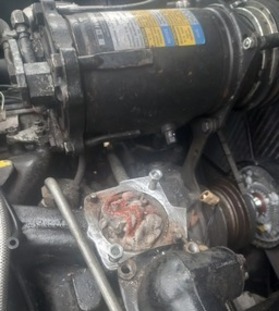
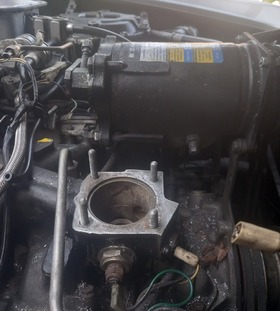
The floor, carpets and soundproofing were sound on the passengers side,the floor was painted. The stainless steel cover panels on the sills were all removed.The fixings are 2BA,as are most small nuts and bolts on Rolls Royce vehicles. The rear floors were sound,only surface rust,after scraping and wire brushing the rust was treated with phosphoric acid and the panels painted. The engine was dirty with paint scraped off and corrosion, surprising as it had been serviced by 'experts'.There were billd with the car for attempts to cure a misfire which was actually caused by a brand new but faulty rotor arm. No bad oil leaks but the dirt shows years of neglect.The big V8 deserves to look better than this,personally one of my pet hates is working on dirty engines. The brake reservoir was rusty.After dismantling to clean its filters etc the fluid was changed and the reservoir painted. The Rolls 6.75 litre V8 engine after cleaning and painting. All electrical connections were pulled apart,cleaned and put back together.The brake reservoir was painted with supposedly fluid resistant paint (it wasnt). The handbrake and brake reservoir etc. The tiny handbrake pads were renewed,they must be too small to act as emergency brakes. Peculiar wedge shaped things,they are easy to replace.The handbrake linkage was seized solid. The brake reservoir was drained and cleaned out.The dirt in the bottom is debris from the flexible brake pipes.The rags are to stop small bolts falling down into the engine V where they are impossible to retrieve. The flexible pipes going to the pumps and returning to the reservoir were replaced with 3/8 inch ID EPDM material (The SAE number is J20R3 Class D2). 2 BA nuts and bolts are used on the reservoir lid The plate on the bottom is removed to access the fine mesh filters,using a deep AF socket they can be unscrewed,when blocked they tend to collapse and tear, if they or the pipes are blocked the brake pumps can get noisy.The filters were undamaged so cleaned and replaced. The sight glass panel is removable but the screws holding it often break,so the area behind the sight glass was washed out with a syringe. Because the sight glasses were so dirty it was impossible to judge the level and as a result the reservoir was over full and leaking via the top gasket. The Brake system Accumulator Spheres. The dreaded brake spheres.Both the accumulators were removed and replaced with new. The ones pictured here are actually early Silver Shadow parts.The later ones (series 2) as per my car have the switches on the pipes not on the valves. The electrics needed work, it was easier to remove some previous 'repairs' and start again. The dashboard was removed to sort out poor repairs to wiring.The veneered front is unscrewed (BA fixings) and removed to gain access to the top roll fixings. The screws are again threaded BA, see conversion charts for explanation. Some of the instruments didn't work,the speedometer on these is impulse driven there is no cable as such.It was dismantled and the inner drive gear replaced. This is how some so called 'specialist' thought you accessed wiring (by cutting bloody great holes in the door) the same bodger had got at another door and the boot in the same way. I welded some steel over the holes and replaced the missing bolts. The wires to the gear box inhibitor switch had burnt out. The wiring runs down inside the steering column. to remove the steering wheel,feed some thin twine under the horn button,cross the two ends so the twin wraps round uder the push and then pull the two ends sharply towards you .The whole electrical system on these cars is complex with lots of relays often in hard to reach places. The burnt out interior lights timer and relay were beyond repair,the original Lucas parts replaced with modern units. The missing door switches were replaced with modern miniature push switches The broken rear door switches replaced,using the same units as fronts. The wiring for the arm rest lights on the door panels had shorted and was replaced. Both seats had non functioning motors,one was because of simply corroded connections, with this one the motor was full of grease. Rolling back the rubber cover enabled cleaning of the commutator and brushes. The control switches were cleaned out with contact cleaner and allowed to dry. A few rust bubbles hid a mound of body filler simply slapped over a gaping hole in the drivers side wing. The filler was pulled off and the hole cut back to sound metal. Happily the metal behind the hole was still sound but it was treated with Eureka fluid film after derusting with Phosphoric acid.The scissors were to cut out a cardboard pattern,not to cut the hole. Repair panels are around £300 for what in this case is a relatively easy shape to reproduce so a piece of 1.5mm steel was cut and beaten to shape. I used a thick,heavy sack filled with wet sand and a hard rubber mallet.The plate was joggled and welded to the wing and floor. The rot was probably caused by the drain tube from air intake exiting high up behind the wing instead of under the car. Fitting adjustable door Mirrors. Very few of these cars were fitted with door mirrors on the nearside. I bought a pair from a Jaguar XJS and by altering the cables was able to fit them to both doors,they make parking and overtaking much easier. The carburettors leaked fuel and the car refused to idle especially when hot. The SU carburettors were removed,with manifold. The needle valves renewed and float levels set. The original makers, Burlen proved able to supply any parts needed.The inter connecting linkages adjusted. This is the fuel weakener device fitted to the Silver Shadow2. The two solenoids behind control the fuel weakener and the anti dieseling valve.The weakener is designed to weaken the mixture when hot and at mid throttle and small load. This is a home made manometer. Basically a plastic U tube containing some coloured water. One end is connected to the weakener with the capped fitting on the left side,under a cap on the top right is a screw with a lock nut. With the engine hot and idling the adjuster is turned to give a slight vacuum,the figure is in inches of water (ie) the difference in height of the two columns,given in the workshop manual. These small and expensive fuel filters are fitted on the carb inlets in small housings sealed with O brings. Both were stamped 'Taiwan'. To remove,the top of the housing is pulled up after screwing a bolt into the threaded hole in the lid. Under the car is a spung loaded one way valve. It enables petrol to escape if the carburettor bowls flood.The valve is opened by the weight of the fuel.This is all part of the fuel weakener system. Rolls brought out a minor modification (mentioned elsewhere on this page) to slope all pipework connecting the carburettor bowls to the valve so that fuel cant accumulate in any part of it. The drain valve was dismantled and cleaned. If it is stuck it can cause problems by altering the fuel mixture. The rear exhaust. The sections are held together with clamps and metal olives. These are much more expensinve than, for instance, Jaguar O rings which I found fitted perfectly The seats were undamaged and cleaned up well. To replace or repair would be a very expensive undertaking. The door cards cleaned up well. They were removed,revealing large holes cut in the metal of the doors by some bodger to access the wiring in two of them. Later I decided to freshen the colour with some dye from "Scratch Doctor" I was pleased with the result The brake calipers needed a clean,the wheel bearings were adjusted. This is the front hub of a silver shadow. Two seperate calipers on the front,each the same caliper as a ford granada etc with a spacer as the ventilated disc is thicker.There are two seperate braking systems sharing a common, divided reservoir. The fluid used on these shadows is a DOT3 with added castor oil as a lubricant. Removing the plug on top of the front swivels allows greasing.A ground down spanner holds the adjuster still to avoid it moving out of adjustment. I found this curiosity,an old repair notice on the back of the trim on the drivers side door. Behind the passengers side front wing on my Shadow 2 is this large washer container with two pumps for the screen and wiper washers. On the reverse are connections for the low fluid warning light switch. To remove the container the plastic under wing shields held by self tapping screws are removed.